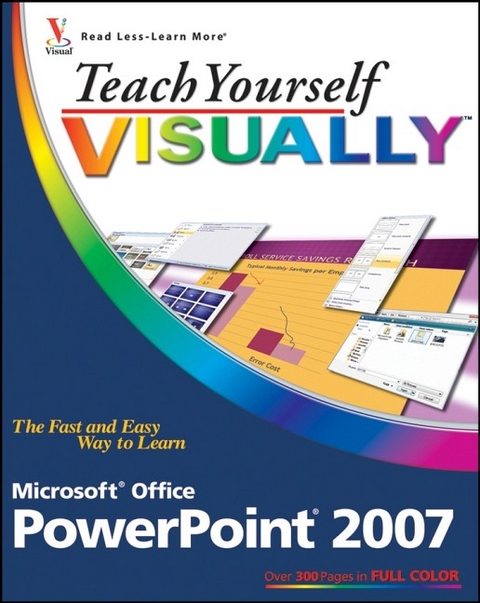
Teach Yourself Visually Microsoft Office PowerPoint 2007
John Wiley & Sons Ltd (Verlag)
978-0-470-04588-6 (ISBN)
- Titel ist leider vergriffen;
keine Neuauflage - Artikel merken
* Covers new PowerPoint features including how to create presentation slides, dress them up using templates and graphics, add sound and animation, and present in a business or Internet setting* Equips users to present visually charged, captivating slideshows* Sophisticated, revised full-color design provides readers with easier navigation* Shows users how to make real-world use of PowerPoint 2007 with highly visual two-page tutorials and numbered, step-by-step screen shots in full color on high-quality paper
Lisa A. Bucki is a full-time author and consultant. She has authored more than 50 books, including Dell Guide to Digital Photography: Shooting, Editing, and Printing Pictures; Managing with Microsoft Project 2002; and Learning Computer Applications: Projects & Exercises, 3rd Edition. She also has written a number of online tutorials about topics including Photoshop, CorelDRAW, and digital photography. Lisa's love of photographing her dogs, plant life, and wildlife blends naturally with her emphasis on photography, photo editing, and communications topics. Her husband, Steve, and dogs, Rika, Sweet Pea, and Jack Black, drag her away from the computer for muchneeded breaks.
Chapter 1. PowerPoint Basics. An Introduction to PowerPoint. Start and Exit PowerPoint. Understanding the Normal View. Navigate PowerPoint Views. Work with the Ribbon Groups, Commands, and Galleries. Hide and Redisplay Ribbon Commands. Find and Use KeyTips. Using the Quick Access Toolbar. Resize the Notes Pane. Using Help. Chapter 2. Presentation Fundamentals. Start a New Presentation. Save a Presentation. Open an Existing Presentation. Close a Presentation. Delete a Presentation. Arrange Presentation Windows. Find a Presentation. Chapter 3. Typing and Formatting Presentation Text. Understanding Presentation Structure. Explore Text Formatting Options. Add a Slide. Delete a Slide in Normal View. Navigate Slides. Type and Edit Text on a Slide. Format Text Color and Style. Format Text Font and Size. Cut, Copy, and Paste Text. Format Bulleted Lists. Using the Spelling Check Feature. Using the Research Feature. Chapter 4. Working with Outlines. Hide and Redisplay the Outline Tab. Understanding How Outline and Slide Content Relate. Enter Presentation Content in an Outline. Move Slides in an Outline. Promote and Demote Items. Collapse and Expand an Outline. Edit Outline Content. Insert Slides from an Outline. Chapter 5. Working with Slide Content. Understanding Layouts and Placeholders. Insert a New Slide with the Selected Layout. Change a Slide Layout. Using Layouts with a Content Placeholder. Insert a Table. Insert a Chart. Insert Pictures and Clip Art. Insert Media Clips. Insert a SmartArt Graphic. Edit a Slide Object. Insert a Slide from Another File. Chapter 6. Using Themes. Understanding Themes. The Anatomy of a Theme. Apply a Design to Selected Slides. Apply a Design to All Slides. Find Themes Online. Apply a Color Theme to Selected Slides. Apply a Color Theme to All Slides. Apply a New Font Theme. Apply a New Background. Apply a Texture or Picture Background. Save Your Own Theme. Make a Document Theme the Default for New Presentations. Save a Template. Chapter 7. Using Masters. Understanding Masters. Understanding Slide Master Elements. Display and Close Slide Master View. Remove a Placeholder. Insert a Placeholder. Add a Footer. Add a Date. Set Up Slide Numbers. Insert a Graphic in Slide Master View. Work with Multiple Masters. Insert a New, Custom Master. Preserve a Master. Rename a Master. Work with the Notes Master. Work with Handout Master. Omit Master Graphics on a Slide. Create a Custom Slide Layout. Chapter 8. Adding Graphics and Drawings. Insert Clip Art. Insert an Image File. Draw a Shape. Add a Text Box. Add Text to a Shape. Select Objects. Apply a New Effect. Format Objects. Move and Resize Objects. Rotate and Flip Objects. Add WordArt. Edit Pictures. Group and Ungroup Objects. Change Object Order. Using the Grid and Guidelines. Nudge Objects. Align Objects. Chapter 9. Organize Slides. Move a Slide. Copy and Paste a Slide. Delete a Slide in Slide Sorter View. Make a Duplicate Slide. Hide a Slide. Zoom In the View. Go to an Individual Slide. View Slides in Grayscale. Chapter 10. Adding Action to Slides. Understanding Animations and Action Buttons. Apply an Animation. Preview an Animation. Add a Custom Animation. Reorder Animations. Remove an Animation. Insert an Action Button. Understanding Transitions. Add a Transition. Remove a Transition. Advance a Slide After a Set Time Interval. Add a Transition Sound. Set a Transition Speed. Insert Movie and Sound Clips. Insert a Hyperlink. Chapter11. Finish, Set Up, and Run a Slide Show. Send a Presentation for Review. Add a Comment. Review and Delete Comments. Select a Show Type and Show Options. Specify Slides to Include. Work with Resolution. Rehearse Timing. Record a Narration. Run a Slide Show. Package a Presentation. Chapter12. Print Presentations. Using Print Preview. Change Printout Orientation. Print Slides. Frame Slides. Print Handouts. Print in Black and White or Grayscale. Print Hidden Slides. Print the Outline Only. Print Notes. Chapter 13. Publish Presentations. Work with Web Presentations. Save a Presentation as a Single Web Page File. View the Web Page. Publish a Web Presentation. Set Up Web Browser Support. Navigate a Presentation in a Browser. Specify Fonts for Web Presentations. Customize Colors for Web Presentations. Publish Slides as Graphics. Chapter 14. Finalizing and Making a Presentation. Get Ready to Present. Start and End a Show. Navigate Among Slides. Using the Pointer. Save or Discard Annotations. Display Slide Show Help. Work with Multiple Monitors and Presenter (Podium) View. Chapter 15. Making a Photo Album. Create an Album with Pictures from a Disk. Create an Album with Pictures from a Digital Camera. Choose Picture Layout and Frame Shape. Add Picture Captions. Work with the Photos. Add a Text Box. Finalize and Use the Photo Album. Chapter 16. Customizing PowerPoint. Modify Common PowerPoint Options. Change Spelling Options. Change AutoCorrect Settings. Customize Save Options. Modify View and Slide Show Options. Change Editing Settings. Work with Print Options. Change AutoFormat Settings. Customize the Quick Access Toolbar. Appendix A. PowerPoint 2007 Keyboard Shortcuts. Frequently Used Keyboard Shortcuts. Presentation Keyboard Shortcuts. Appendix B. Online Resources. Web Sites. Sources for Templates and Graphics. Microsoft Resources.
| Erscheint lt. Verlag | 6.12.2006 |
|---|---|
| Reihe/Serie | Teach Yourself Visually (Tech) |
| Zusatzinfo | col. Illustrations |
| Verlagsort | Chichester |
| Sprache | englisch |
| Maße | 188 x 234 mm |
| Gewicht | 748 g |
| Themenwelt | Informatik ► Office Programme ► Powerpoint |
| ISBN-10 | 0-470-04588-4 / 0470045884 |
| ISBN-13 | 978-0-470-04588-6 / 9780470045886 |
| Zustand | Neuware |
| Informationen gemäß Produktsicherheitsverordnung (GPSR) | |
| Haben Sie eine Frage zum Produkt? |
aus dem Bereich


